- March 14, 2023
- Posted by regularadmin
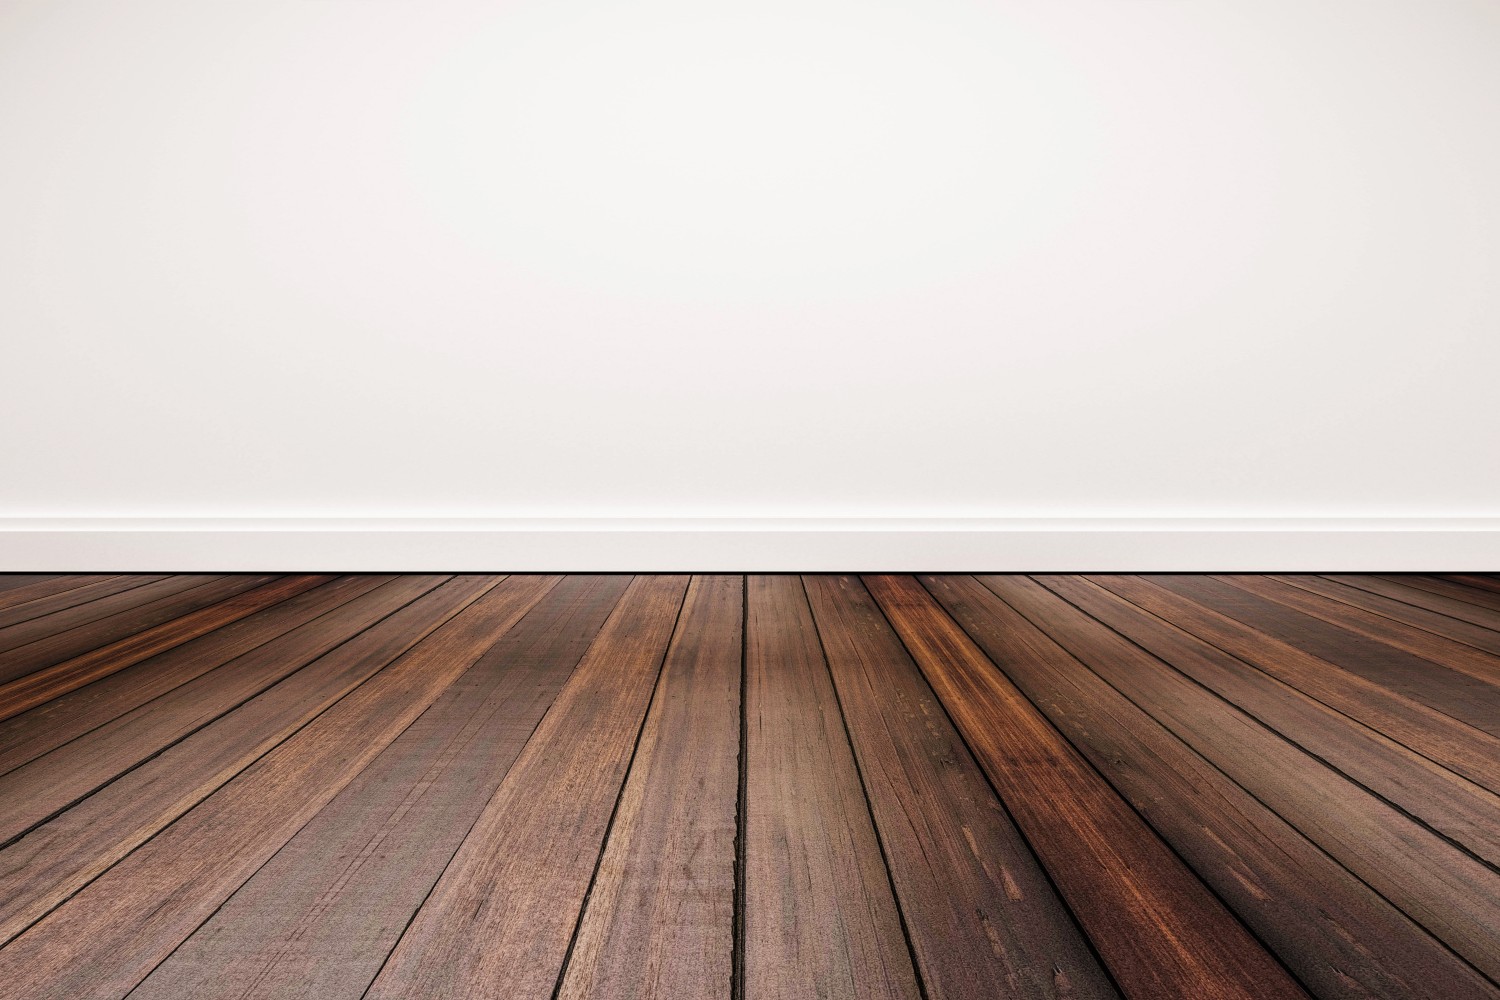
In addition to the aesthetic appeal they bring to your home, hardwood floors are known for their ease of cleaning. Typically, a quick vacuuming is sufficient to keep them looking their best. Beyond their beauty, charm, and warmth, this is one of the best features of hardwood floors.
Occasionally, particularly if you have children and pets, hardwood floors demand a thorough cleaning. We don’t mean just vacuuming for a little longer than usual or wiping them down with your Swiffer. Instead, it’s time to roll up your sleeves and remove the stains and grime that have accumulated over several months.
So, how to clean hardwood floors?
Here are the four basic steps:
Step 1: Use a vacuum, microfiber mop, or broom with split tips to pick up loose dirt and dust.
Step 2: Determine whether your floors have a surface or penetrating finish.
Step 3: Spray the cleaner on the floor, mop in the direction of the floorboards, and rinse with clean water.
Step 4: Remove deep stains and scuff marks from flooring.
Although the process is simple, there are many details to know about each step to ensure that you are doing your floors the most good and keeping them in the best shape possible.
Keeping hardwood floors clean is essential to their longevity and overall appearance. Regular cleaning helps to prevent scratches, scuffs, and stains that can dull the shine and detract from the beauty of the wood. But, it can be challenging to know how to properly clean your hardwood floors, especially if you are new to owning a home with hardwood flooring. In this article, we will provide you with step-by-step instructions on how to deep clean hardwood floors, how to clean engineered hardwood floors, and how to keep hardwood floors clean.
How to Deep Clean Hardwood Floors
Step 1: Remove Loose Dirt and Dust
The first step to deep cleaning your hardwood floors is to remove loose dirt and dust. Use a vacuum with a floor attachment that has soft bristles. Avoid using a vacuum with an aggressive beater bar with hard bristles as it can scratch your hardwood floors. If you do not have a vacuum with soft bristles, you can sweep up the dirt and dust with a broom that has fine bristles and exploded/split tips.
For best results, fill a spray bottle with water and give your floors a light spritz before wiping them immediately with a microfiber mop. When water is used for cleaning, it tends to draw in dust and dirt particles, while a microfiber cloth will effectively soak up the water.
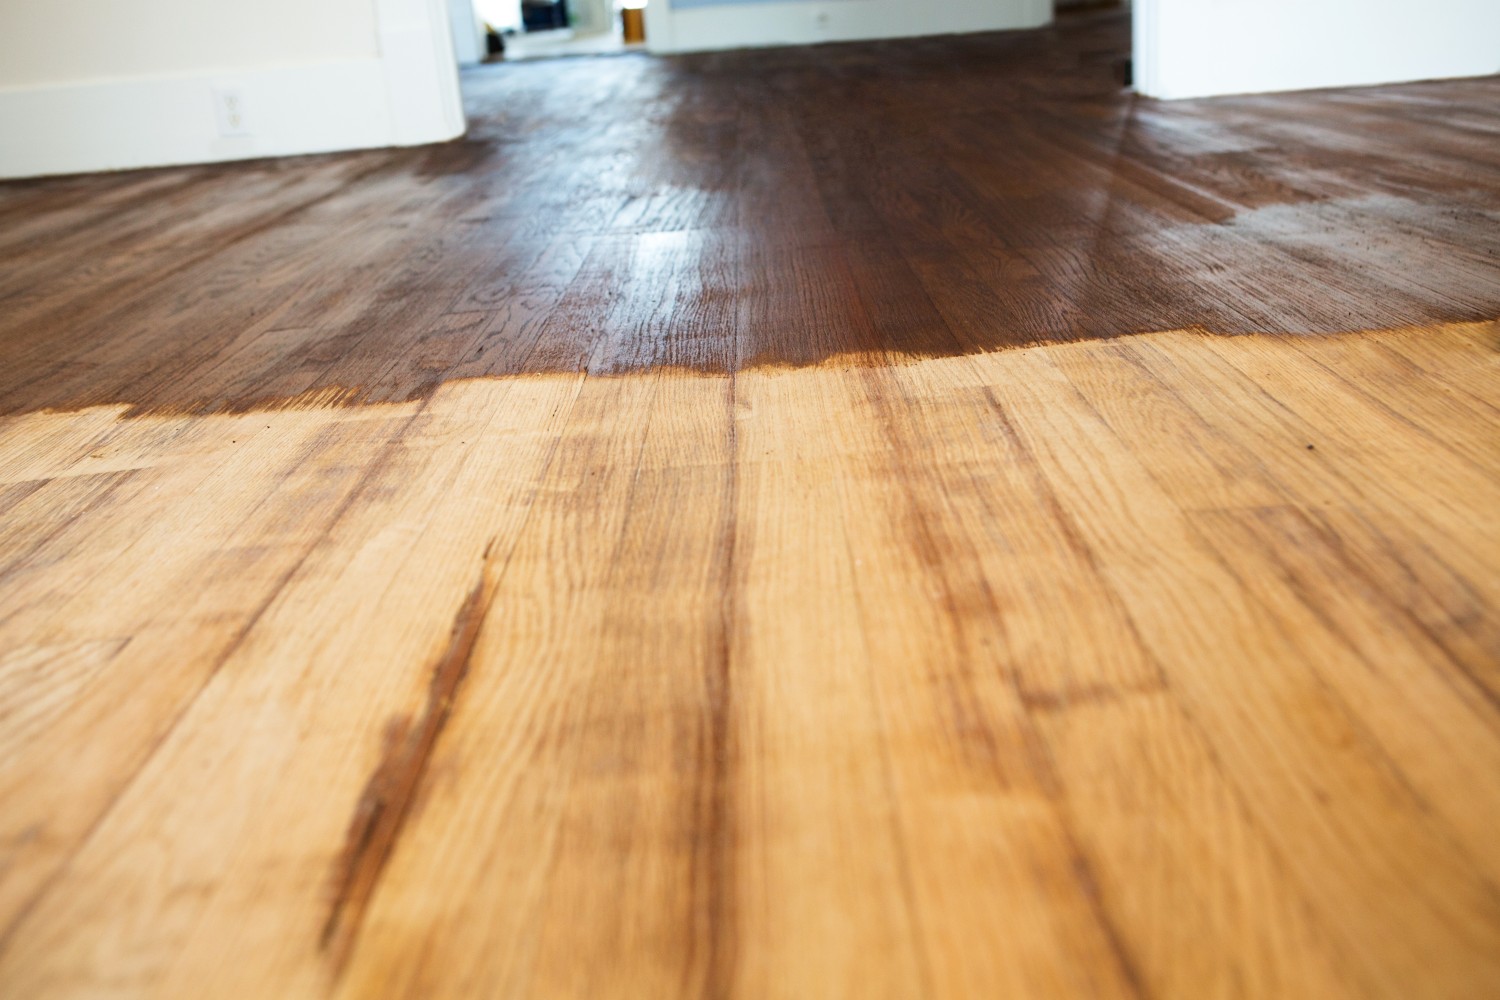
Step 2: Identify Your Floor Finish
Now that you have removed the loose dirt and dust from your floors, it is time to determine the type of finish on your floors. Knowing your floor finish is vital as cleaning products are designed for specific finishes, and using the wrong product could lead to severe, and in some cases irreversible, damage.
There are two types of floor finishes: surface and penetrating.
Surface Finishes:
The prevalent kind of finish used in residential wood floors is surface finish. It is applied over stained wood floors to offer a protective layer and a shiny, semi-gloss, or satin appearance. Different types of surface finishes include polyurethane, water-based urethane, oil-based urethane, and moisture-cured urethane.
Surface finishes are preferred for wood floors because they create a protective layer that repels liquids, such as water, preventing them from seeping into the wood. This feature makes it convenient to clean up spills and maintain the floors. Additionally, surface finishes enhance the durability of the floors, which is why they are a popular choice for homeowners.
Penetrating Finishes:
Penetrating finishes, also referred to as oil finishes, penetrate deeply into the wood fibers and oxidize them, resulting in a hardened wood from the inside out. These types of finishes are commonly found on floors and are often coated with a layer of floor wax. While this wax provides some surface protection, it is not as effective as a surface finish.
To determine which finish is on your floor, you can use the water method and the scraping method. The water method involves pouring a small amount of water on your floor. You have a surface finish if the water pools up. You have a penetrating finish if it absorbs quickly into the wood.
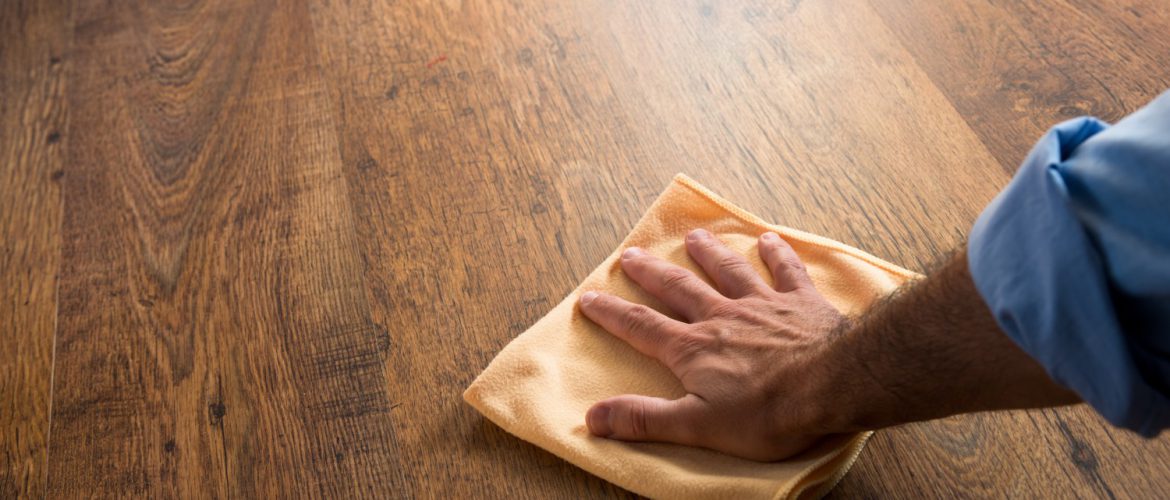
Step 3: Mop in the Direction of the Floorboards
To clean your hardwood floors, mop in the direction of the floorboards using a microfiber cloth or a floor mop with a microfiber cloth head. For surface-finished floors, you can spray a water-based hardwood floor cleaner directly on the floor and wipe it immediately with the mop. If you have penetrating finishes, use a cleaner specifically designed for them. It’s essential to mop in the direction of the floorboards to prevent streaking and to pick up dirt and grime between the floorboards.
Step 4: Remove Deep Stains
To remove deep stains from hardwood floors, use different techniques depending on the type of stain. For oil and grease stains, mix a few drops of dish soap with water and rub the stains gently in a circular motion. The surfactants in the dish soap break down the molecules in the grease, making it easier to remove. To get rid of paint stains, rub the affected area with a damp microfiber cloth. If that doesn’t work, use a cloth dipped in rubbing alcohol. Be sure to wear gloves and avoid topical contact with the alcohol, as it can irritate your skin.
These tips should help you get your hardwood floors clean and shiny. Therefore, if you still have problems with your floor consider hardwood floor refinishing or hardwood floor installation. Feel free to contact Jerry J Hardwood Flooring and we will answer all your questions.