
- January 28, 2019
- Posted by regularadmin
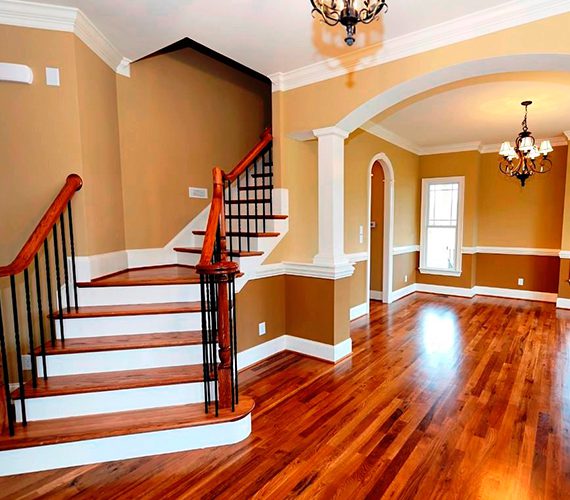
Preparatory stages of hardwood floor refinishing
Hardwood floor refinishing isn’t overly complicated or at least that’s what the theory says. Be that as it may, before you run head first into the whole process, you have to collect necessary equipment (sanders, edgers, stain, wood finish but also dust mask / respirator, cleaning supplies and wood putty). Having everything on hand, you are ready to commence preparatory works. First, you have to remove baseboards. It’s considered unnecessary by some but that way you avoid the situation where strip of the floor underneath them stays slightly elevated comparing to the rest of the room. Now cover air vents, secure doorways with plastic tape and fill holes in the floor with putty. After that, you can finally don dust mask and start hardwood floor refinishing proper.
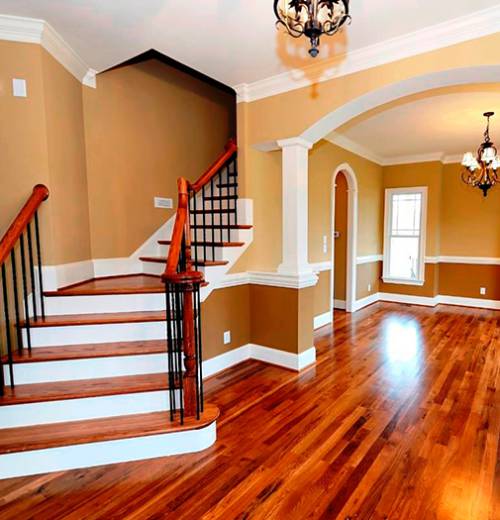
Hardwood floor refinishing – sanding, staining, applying finish
The hardwood floor refinishing process starts with sanding off the old layers of varnish / polyurethane coat and smoothing the surface. For that purpose, you’ll need at least three runs of the drum sander over the whole area subjected to the process. Start with coarsest grit and continue to the finest. Keep in mind that, you mustn’t stop as long as sander is running and you have to do the floor thoroughly with one grit before switching to the next. Some parts of the room will be inaccessible for the drum sander but worry not. With edger or palm sander, you easily finish any nook and cranny to match the center. Once the whole floor is stripped, you have to vacuum dust and wipe all of the surfaces with wet cloth. Now the funny part may begin. If you strive for different floor shade, start with coat with stain of your choice. Allow to dry and apply three layers of protective finish, following manufacturer’s instructions and sanding surface with very fine grit paper (400) after each but last layer dries. Enjoy results.
